Revamp Your Car Interior: How to Make Your Own Car Air Freshener
Welcome to The Power Window Doctors, your trusted source for automotive solutions. In this guide, we will provide you with step-by-step instructions on how to make your own car air freshener. With our expert tips and guidance, you'll be able to revamp your car interior and create a personalized atmosphere that reflects your unique style and preferences.
Why Should You Make Your Own Car Air Freshener?
Your car is an extension of your personality, and maintaining a fresh and pleasant-smelling interior is essential for an enjoyable driving experience. While there are many commercially available car air fresheners on the market, creating your own allows you to customize the scent, design, and overall look to suit your preferences. Additionally, homemade car air fresheners can be more cost-effective and environmentally friendly compared to store-bought alternatives.
Gather the Materials You'll Need
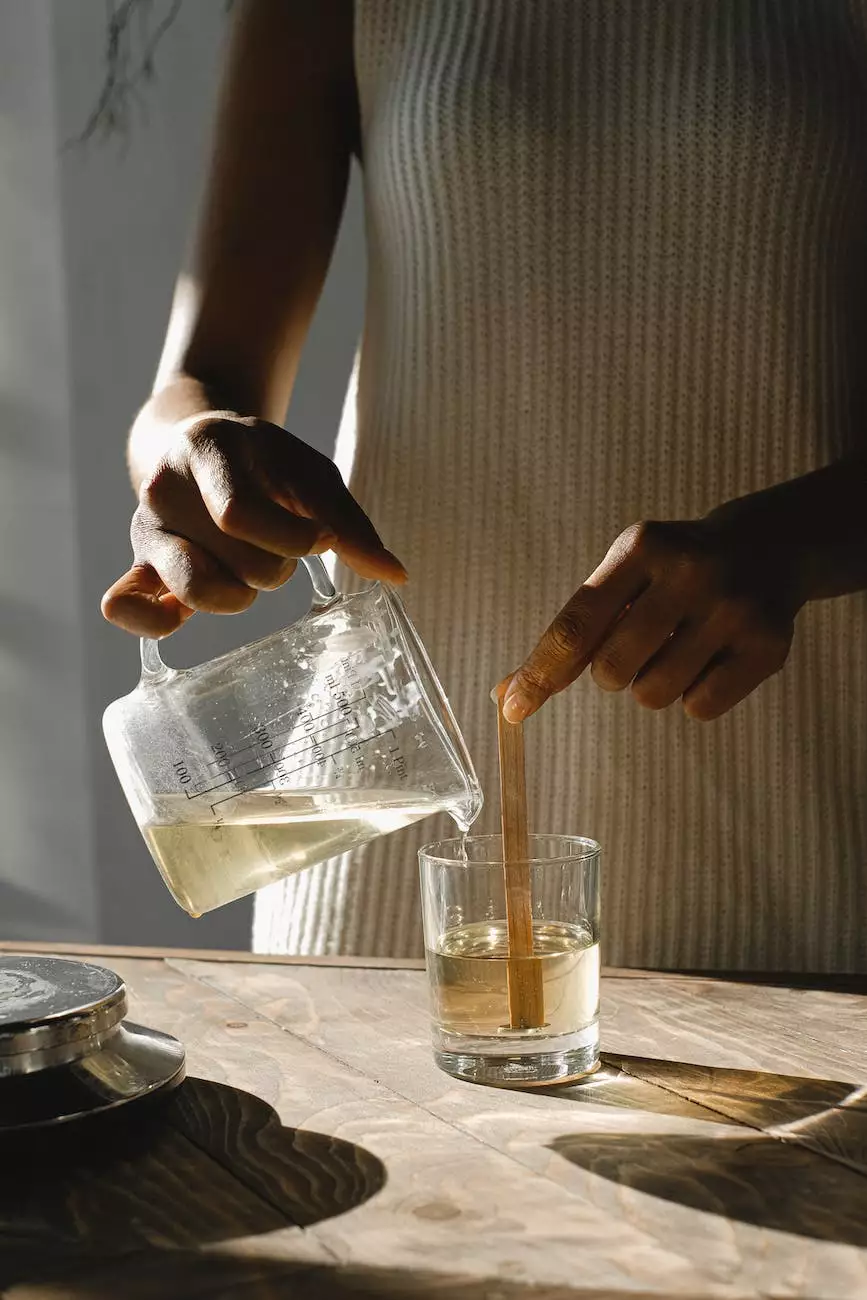
Before you begin creating your own car air freshener, it's important to gather the necessary materials. Here's a list of items you'll need to get started:
- Absorbent material (such as felt, fabric, or paper)
- Essential oils or fragrance oils of your choice
- Scissors
- Hole punch
- Ribbon or string
- Decorative elements (optional, such as beads or charms)
Step-by-Step Instructions
1. Choose Your Desired Shape and Size
Start by deciding on the shape and size of your car air freshener. You can opt for traditional shapes like squares, circles, or rectangles, or get creative and design a shape that suits your personality. Cut the absorbent material into your desired shape using scissors.
2. Select Your Preferred Scent
Next, choose your favorite essential oil or fragrance oil to infuse your car air freshener with a pleasant scent. Some popular options include lavender, citrus, vanilla, or pine. Be sure to select oils that are safe for use in car interiors and that you personally enjoy.
3. Apply the Scent
Using a dropper or pipette, apply a few drops of your chosen oil onto the absorbent material. Start with a small amount and add more if desired, as some fragrances can be quite potent. Avoid saturating the material to prevent any staining or dripping.
4. Decorate Your Air Freshener (Optional)
If you want to add a personal touch to your car air freshener, consider decorating it with beads, charms, or other decorative elements. This step is entirely optional but can add an extra flair to your creation. Use a hole punch to create a small hole near the top of the air freshener for attaching the ribbon or string.
5. Allow the Air Freshener to Cure
Once you've completed all the previous steps, allow your car air freshener to cure for at least 24 hours. This allows the scent to fully permeate the absorbent material. During this time, keep the air freshener in a well-ventilated area to facilitate the curing process.
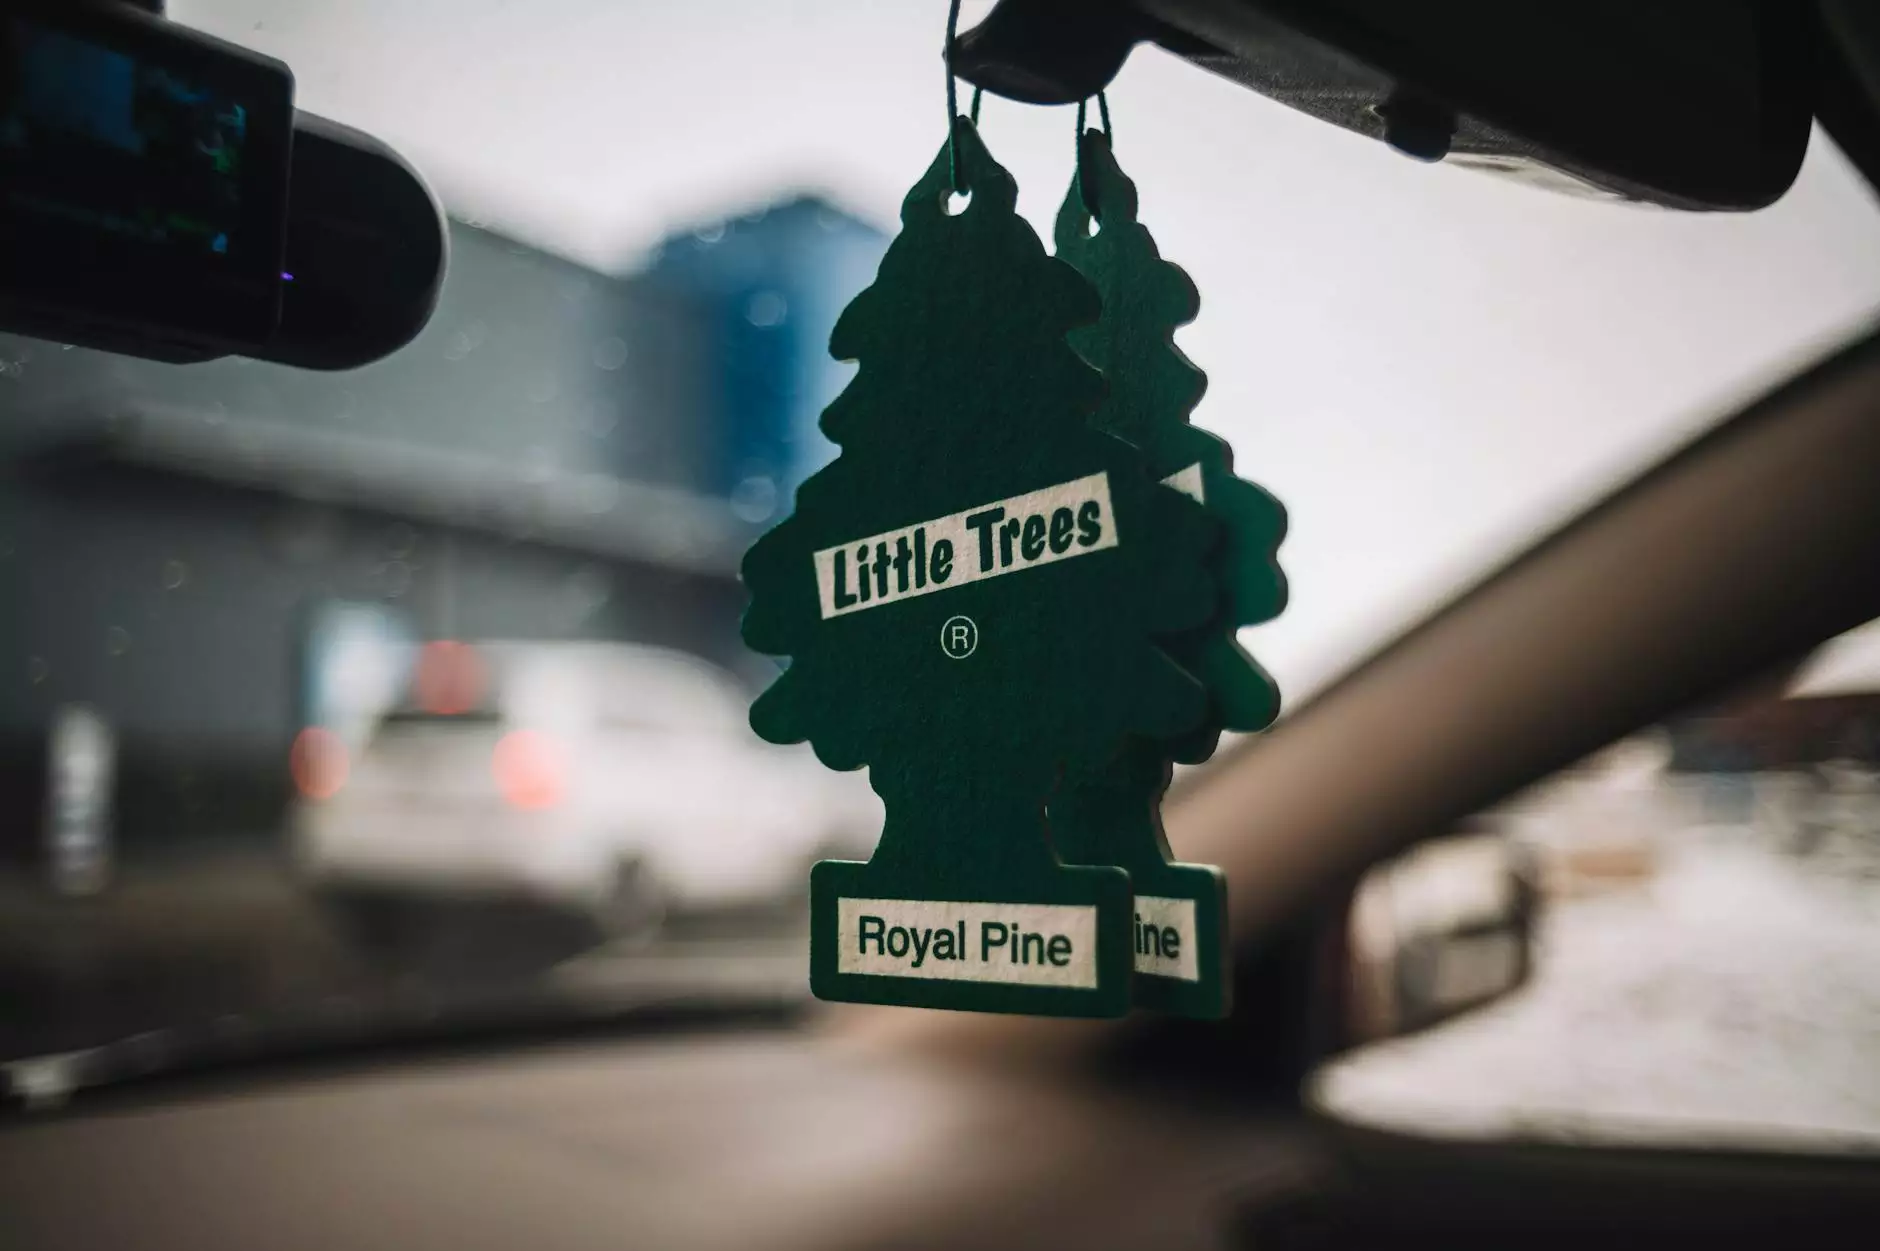
6. Hang Your Finished Air Freshener
After the curing period, your homemade car air freshener is ready to be hung in your vehicle. Attach a ribbon or string through the hole you created earlier and securely fasten it to your car's rearview mirror, air vent, or any other desired location. Every time you step into your car, the scent will greet you and enhance the overall driving experience.
Final Thoughts
Congratulations! You have successfully learned how to make your own car air freshener. By following our step-by-step instructions, you've not only created a personalized accessory for your vehicle but also contributed to a fresh-smelling and enjoyable driving environment. Remember to periodically refresh the scent by adding more drops of your chosen oil as needed. Enjoy the benefits of a customized car air freshener that reflects your personality and style.
At The Power Window Doctors, we strive to provide valuable information and solutions for all your automotive needs. Stay tuned for more industry insights, tips, and tricks to keep your car in top shape!